Writing scripts
This section of the guide is for people who want to extend the code base of hacked mud.
Note
You should read all previous pages before reading this
OOG Class
When you launch a new hackmud client, hacked mud will try to find it and do a whole lot of memory reading. When all initialization logic is complete the hacked mud will create a new OOG object
You can find the OOG class in /backend/src/modules/OOG/oog.service.ts GitHub link
You are interested in an update function. This is your infinite loop.
export class OOG {
  // ...
  private isUpdating = false;
  async update() {
    if (this.isUpdating) return;
    this.isUpdating = true;

    try {
      switch (this.scenario) {
        case "idle":
          break;
        case "HelloWorld":
          await this.HelloWorld();
          break;
        case "hardline":
          await this.hardline();
          break;
        case "scan2":
          await this.scan2();
          break;
      }
    } catch (e) {
      log.error({ e });
      this.stop();
    } finally {
      this.isUpdating = false;
    }
  }
  // ...
}
Here you can add your own scenarios that can also contain their own loops. Let's look at a scan2 scenario.
export class OOG {

  async scan2() {
    let res = await this.cmd("cake.scan2")
    // find all corp names in a script output
    let corps = execRg(/(cake.scan2 \{.+\})/gm, res)

    // Scan each corp until it finishes
    for (const c of corps) {
      while (true) {
        let res = await this.cmd(c)
        if (res.includes("switch corp")) break
      }
    }

    this.setScenario("idle");
  }

}
cmd is an async function that sends keystrokes to hackmud and returns a cmd response once the command has finished executing.
execRg is a helper function that collects all regex matches in a string and returns them in an array
Here you can see this scenario in action. (Sped up by 6 times because t2 scraping is slow)
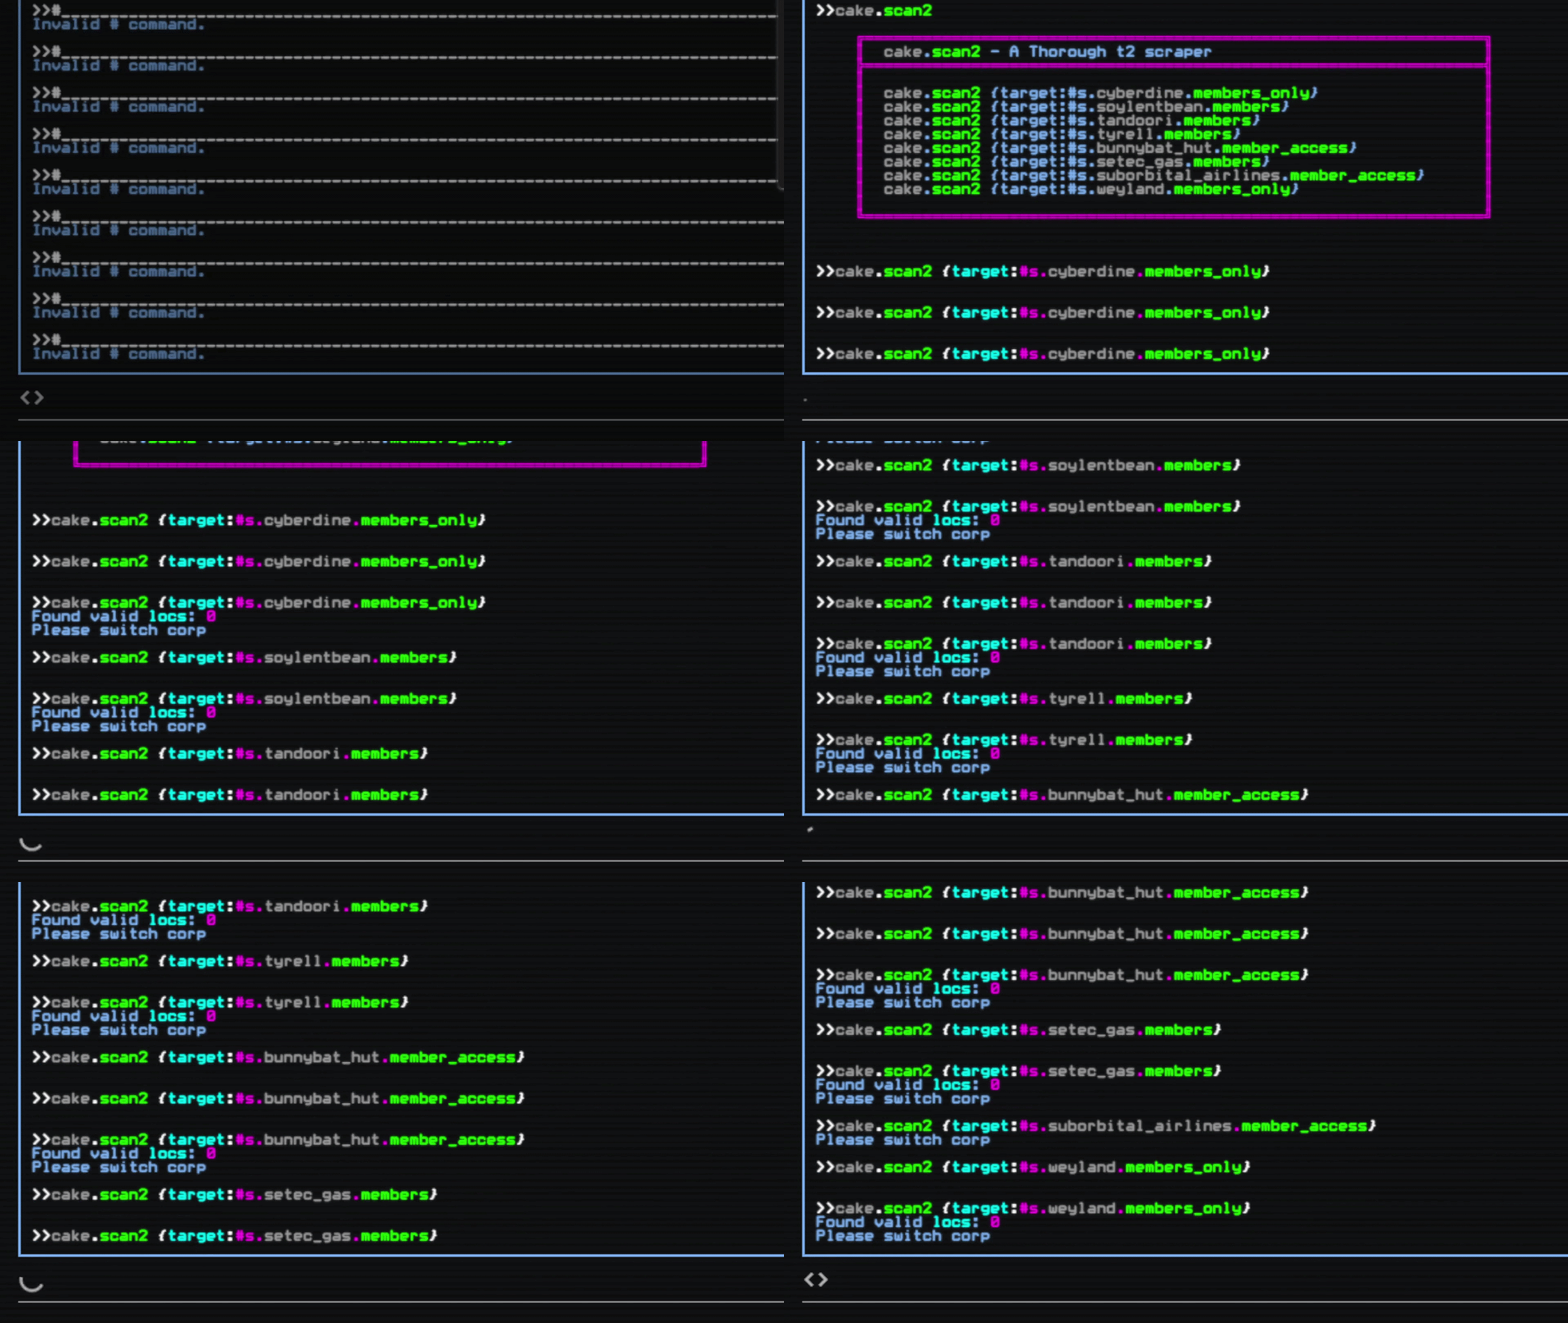
You can add your own scenarios in this switch case.
Note
If I were you, I'd declare each scenario in a separate module folder. But it is up to you now
HackmudClient
In the OOG class you can talk to a client object that represents a hackmud client.
client.gameState - Information about game state. It can tell if the client is currently processing a command and can report a hardline state and timer.
client.shellState.normalizedText - Contains the contents of the hackmud shell. Can be used in combination with uncolorShell to remove the <color> tags
client.gameStats - An object with unknown fields. Add the data that you want. In this sample I added a name property that is set to the name of the first user of the client. It is useful because it is being sent with a websocket and can be displayed on the frontend.
client.cmd() is a function that types a command in a hackmud client and returns a neverthrow Result<T,E>. If you don't want to deal with Result, you can unwrap it like this:
async function cmd(text: string): Promise<string> {
  return await this.client.cmd(text).match(
    a => a.response, // What to return if the result is OK
    e => {
      // What to return if the result is an Error
      throw new CustomError(e);
    }
  );
}
Conclusion
That's pretty much it! That is all you need to know to start building your logic on top of hacked mud. Let me know if there's anything you found confusing. You can find me in a hackmud discord as @cake_eater